+61 2 8004 9522 support@vqs.com.au

Menu

Navigation:  Command Center > Admin > HR and Access Control > Roles 

hr6

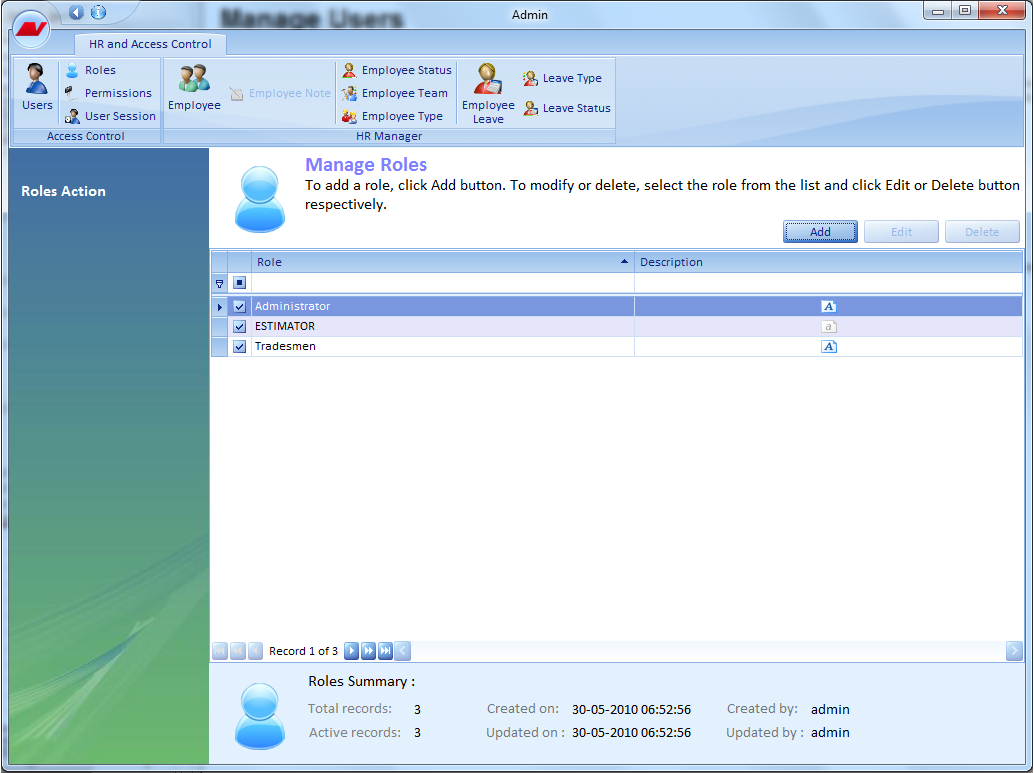
The Manage Roles screen displays the list of existing roles. The list can be organised in an ascending or descending order by using the arrow in the Role column. Click on the icon in the description column to view the detailed information about the role. The check boxes corresponding to every line item indicates whether the role is active or inactive. The summary information for the Role records is displayed at the bottom of this page. The navigational arrows provided at the bottom enable the users to navigate one/more records at a time.

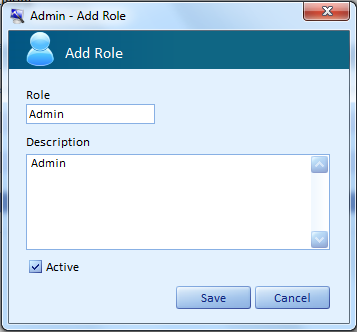
  • Click the Add button on this page to add a new role.
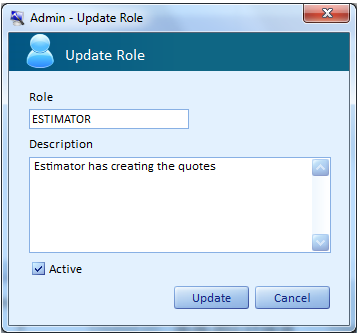
  • Select a role and click the Edit button on this page to update the role information.
  • Select a role and click the Delete button on this page to delete the role.

Right-click on any deleted record. A short cut menu with option Undo Delete comes up. Click this option to retrieve the deleted record into the system.

On right clicking on any other role, the option Set Permission appears. Click on this option to grant/revoke permission for the specific role. The Manage Permission screen comes up.

Add Role

Navigation: Command Center > Admin Icon > HR and Access Control Icon > Roles Icon > Add Button

hr7

The Admin – Add Role screen helps you to capture the details pertaining to the new role being created. These roles can later be assciated with the users.  Follow the steps mentioned below to add a new role.

Enter the role name in the Role text box. (Mandatory)

Provide an appropriate description for the new role being created in the Description text area.

By default the Active check box will remain selected. Uncheck the Active chack box to deactivate the Role.

  • Click the Save button to register the new role. Once the details are saved, the system displays a confirmation message. Click OK to proceed.
  • Click the Cancel button to close the screen, without saving the role details.
  • Note: The mandatory fields in the Add Role screen must be entered failing which the system alerts the users.

Update Role

Navigation:  Command Center > Admin Icon > HR and Access Control Icon > Roles > Select a Role > Edit Button

hr8

The Admin ? Update Role screen helps you to modify the existing role on need basis. Follow the steps mentioned below to modify the role information.

  • Edit the role field if required.
  • Edit the description field if required.

By default the Active check box will remain selected. You can clear the check box to inactivate the selected role either temporarily or permanently.

  • Click the Update button to register the changes made in the role details. Once the details are saved, the system displays a confirmation message. Click OK to proceed.
  • Click the Cancel button to discard the changes and close the screen.